
A PST file is a personal file that you create from Microsoft Outlook. Consider the PST a personal storage container for your email. You can use a PST to provide emails to someone for processing without altering the dates and times of the original emails.
First select File, usually found on the top left of your screen.

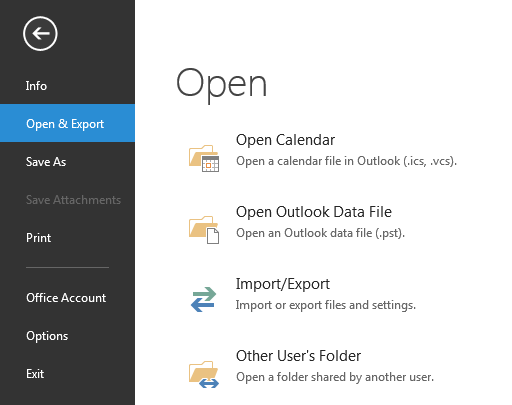
Select Open & Export and then Import/Export as shown in the options below:
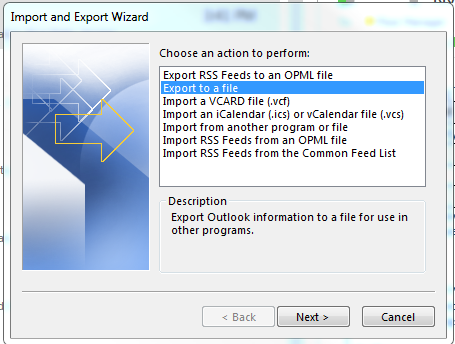
The Import and Export Wizard will then pop up where you can select to Export to a file.
Click next and then you select Outlook Data file (.pst) as shown below.

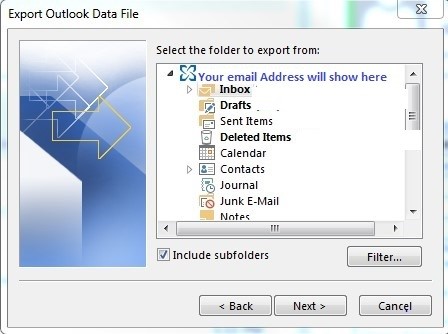
Clicking the next screen will allow you to choose which folders you are going to export and if you want to include the sub folders as well.
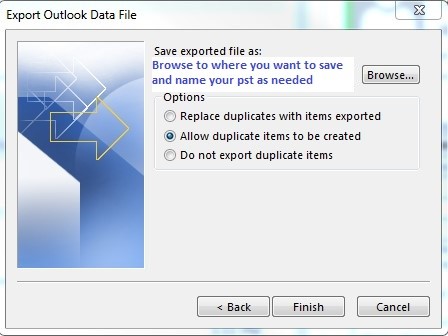
Pressing next will allow you to select where you want to save the PST and what you want to name it. We suggest that you allow duplicate items to be created so that you make sure to get all items that may be named the same but have different attachments. The processing software we use to ingest your PST will be able to accurately remove any true duplicates.
Click Finish and then you will be prompted to add a password if you would like. Enter a password and then press OK or just press OK without entering a password and it will proceed with preparing your PST. You can go look in the location where you chose to save your PST and if it contains a .tmp after the .pst then it is still in creation. Do not do anything with it until it is just .pst.
Now you are free to upload this PST to any vendor or software for processing. You can also use this process to just create backup copies of emails you are wanting to save.
Leave A Comment?